Many people have a go to mindless hobby they can go to while watching a movie, or stuck in a car; something to do with your hands while remaining motionless. My mother-in-law crochets everything under the sun, often while reading, watching TV, as a passenger in a car, et cetera. A friend embroiders.
Let’s face it. We all need some kind of distraction with the last 9 or so months being a global dumpster fire. If there is one thing I’ve learning in the year of COVID it is that more people need hobbies.
For me, my mindless go to for keeping my hands busy is knitting up hats. I can make one in about 90 minutes, so it’s a good movie watching activity. Needless to say, I have lots of hats. Everyone that knows me has lots of hats. It’s a comfort activity for me at this point.
Since I’ve been doing this for about 15 years, I’ve gotten a pretty good technique worked out. It isn’t a pattern, it’s a technique, that with some minor variations can make highly variable hat styles.
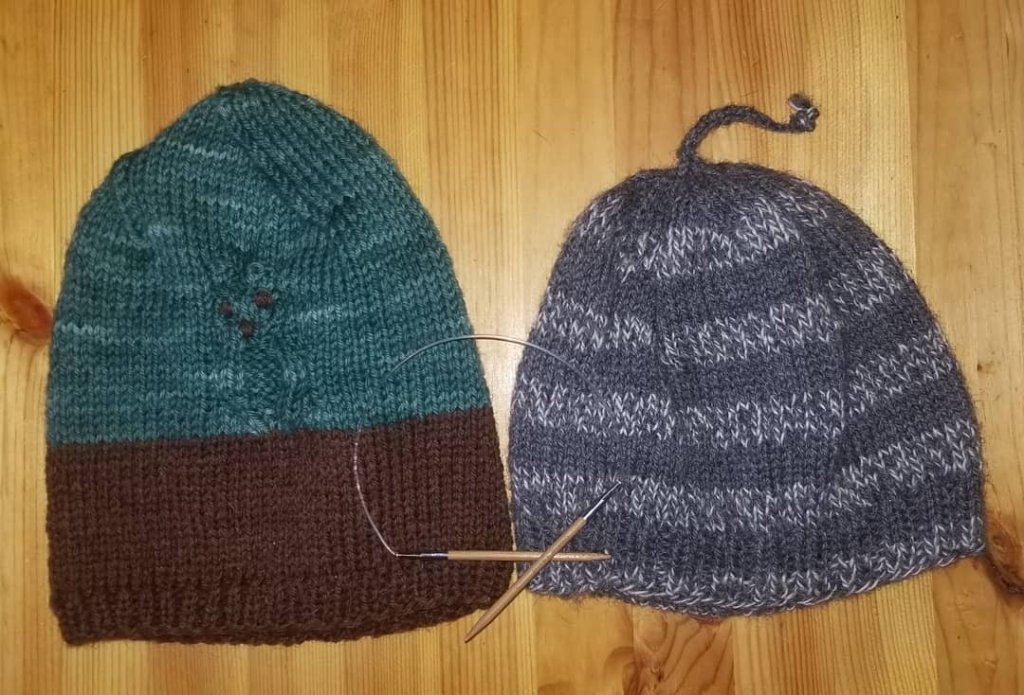
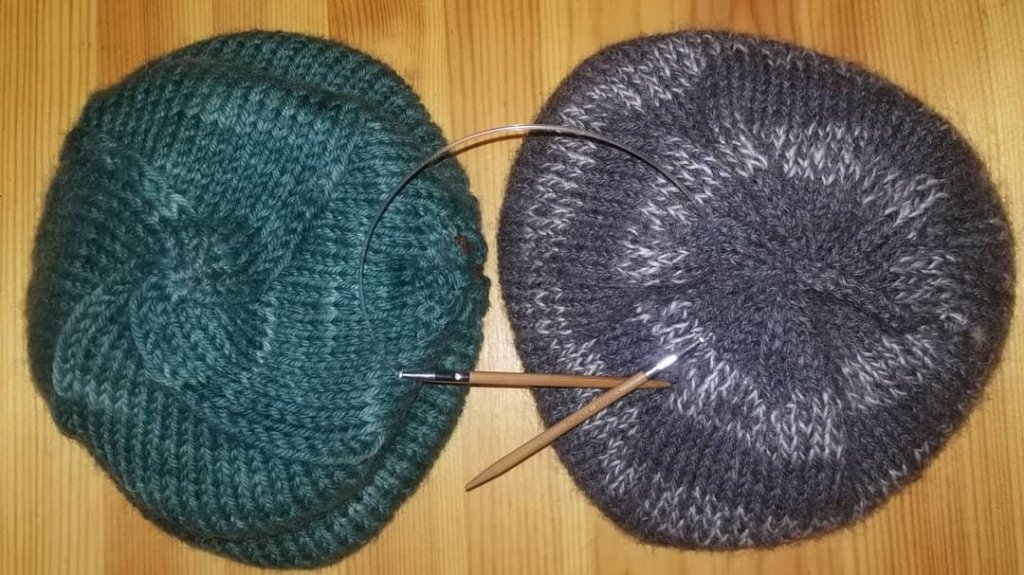
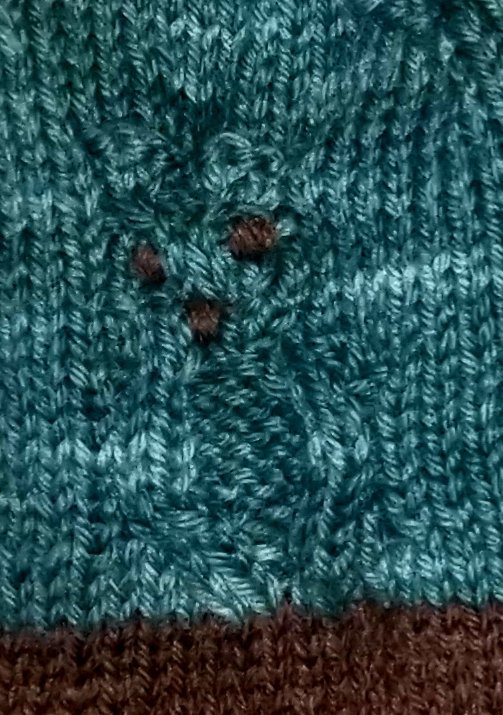
If one ignores the color blocking and my spitball attempt at an owl, these two hats are structurally the same.
They are both made using a long tail cast on of 80 stitches. They both use DK weight wool yarn, and they both were made on the same 4 mm bamboo round needle.
So what makes them look so different?
Reductions! When making hats, one must always have an even number of stitches; for a rib stitch and also for reducing. Whatever number of stitches you cast on has to be divisible by 2 (single rib) or 4 (double rib) AND another even number for reducing. A reduction is where you knit two stitches together every certain number of stitches.
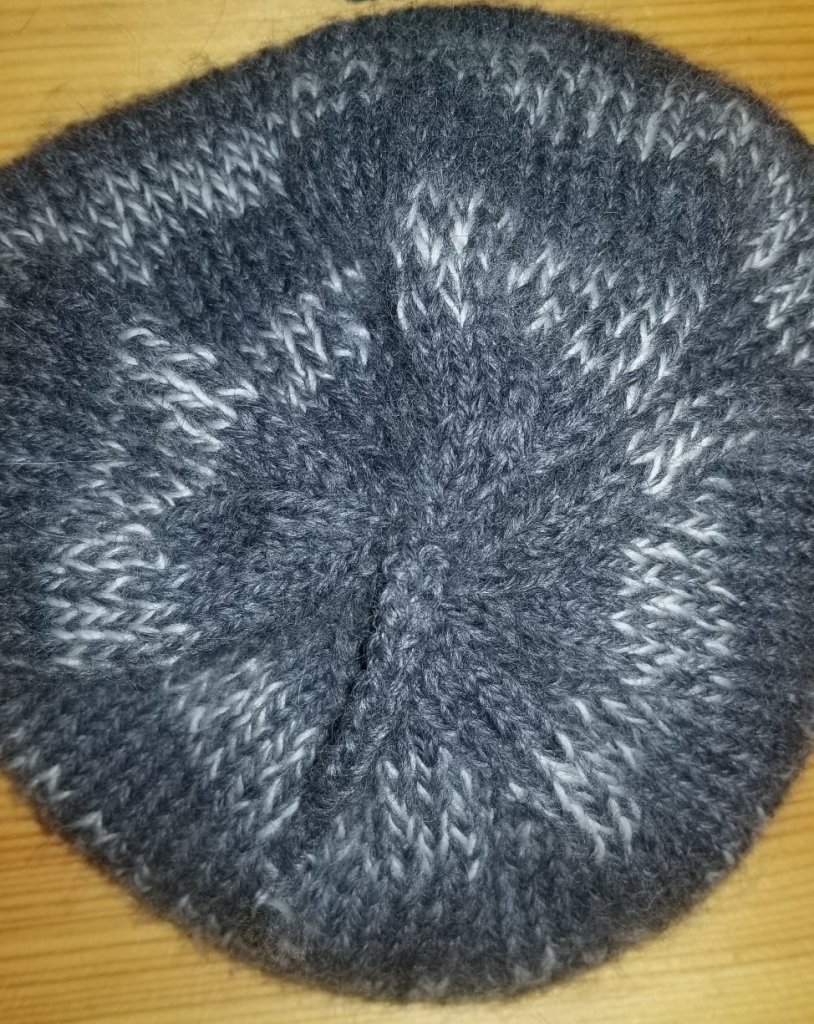
The grey striped hat has 10 reductions creating a very tight, circular top and a beanie style. I counted out every 8 stitches and put a marker on my needle. When I knit around to the marker, I would slide it over and then knit the next 2 stitches together. That means I removed 10 stitches every row, which brought it to a close in 8 rows.
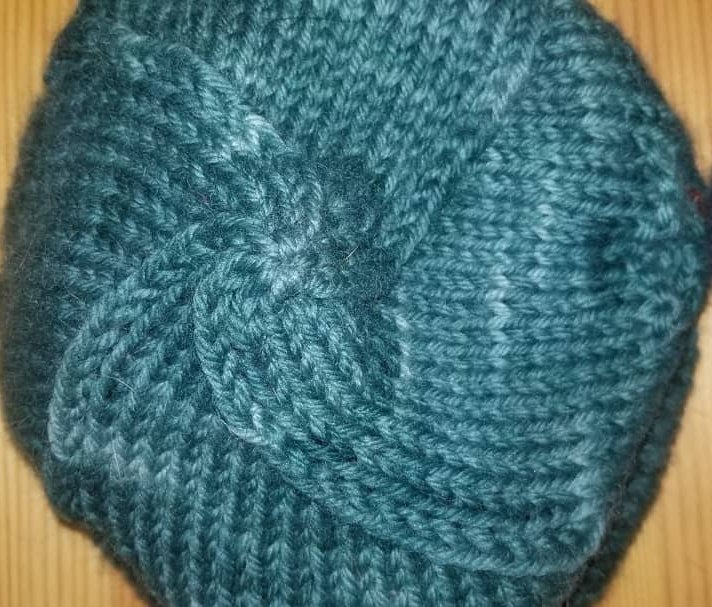
The blue and brown hat has just 4 reductions. I counted out 20 stitches and put a marker on it. This resulted in 4 stitches being removed every row and a much taller hat as I closed it with more rows.
By using this combo of a 4 mm needle, and 80 stitches of DK weight yarn, I can reduce by 4 (every 20 stitches), 5 (every 16 stitches), 8 (every 10 stitches) or 10 (every 8 stitches) which dictates the shape of the hat.
I use the same method with 6mm needles and 72 stitches. That can have 3, 4, 6, 8, or 9 reductions which allows me flexibility with crown shape.
Ways to make the same thing over and over an yet look different can mean color changes, ribbing the entire thing, add patterns like my crooked, eyeballed attempt at an owl, cables, as well as how the hat is closed.
One can reduce down to a few stitches and use a tapestry needle to loop through and cinch it closed (the brown & blue hat).
Or one can use double pointed needles to get down to 3 or 4 stitches and then make an icord strand (the grey striped hat). One can make and add a pompom to either option (I like the whimsical look to an icord tassel with a pompom on the end). Or sometimes I just take 5 or 6 strands of yarn and loop them through the closure like a tuft of hair. Little things can make big differences while structurally remaining the same.
There are other steps to this hat technique, but that is the basics:
- 4mm circular needle at least 10″ long
- Dk weight yarn
- Cast on 80 stitches
- Close the loop
- Rib at least 5 rows
- Knit until it is as tall as you want it
- Reduce it to a close (keep in mind it changes how it fits)
- Close it
- Add tassels, braids, pompoms, yarn tufts.
For some other tips, I suggest you don’t try the “knotless method” because it leads to tears. If you need to tie a slip knot for your first stitch, do it. This “no knot” stuff makes no sense to me, at all. Seems a bit elitist, honestly. I knot the first stitch in my cast on AND the last stitch I cast on. Nothing is sadder than closing your loop to knit in the round and realize your last stitch unraveled and your rib is off.
You want a jogless easy close in the round? See the video below. The loop is closed, there’s no jog, and the only real annoying thing is those stitches are a little tight the first row or two. A lot less annoying than trying to add a stitch back in, having it come apart in your hands, or accidentally making a moebius strip.
- Cast on your stitches
- Tie a knot on the last stitch.
- Take the first and last stitches off the ends of the needle.
- Swap the last stitch and the first stitch (See video!).
- The loop is closed.
- Knit your rib.
I should warn you that I knit in a semi Continental style, so my actions may be reversed to yours. I work right to left with my working yarn in my left hand and do not “throw” my stitches; I “pluck” them with the tip of my right hand needle. You will have to adjust this technique to your knitting style.
Last, have fun. You feel like making a hat that is crazy long by doing 2 reductions because it makes it also a scarf and putting a grapefruit sized pompom on the end? Go for it. It’s your project and your creative outlet. There are no gate holders. You learn far more from making mistakes than from slavishly following a pattern. Give yourself permission to experiment, and learn from what works and what doesn’t.

