Maple syrup is a nutrient dense and fairly easy to make product. That being said, it is a lesson in patience. While maple syrup is usually made from sugar maple trees, technically speaking any maple tree can be tapped, as well as box elder, birch, and many others including walnut. They each have different sugar contents to the sap, meaning that you may need more or less sap for a good finished product.
With the pandemic dragging on and on and on and on, I know a lot of people are both trying to stay busy, and provide for their families. Foraging is more popular than I have seen it in DECADES, and it seems to be a combination of boredom and necessity. Whatever brought you to the foraging community, welcome!
We made maple syrup the first time a few years ago. We have several very large maples that are not sugar maples, but given the nearly 4 foot circumference, they are large enough to put multiple taps on and produce a decent amount of sap without hurting the trees. We ordered some vaccum tap lines from an online retailer a few years ago, and I cannot find them now, but the previous link was for the Bezos Overlord Machine known as Amazon. We use super not fancy water bottles to collect the sap.
There was a lesson learned very early that you cannot have too tight of a seal on the bottles or you vapor lock them. We had to put in small air holes to allow air to escape as the bottle fill with sap.
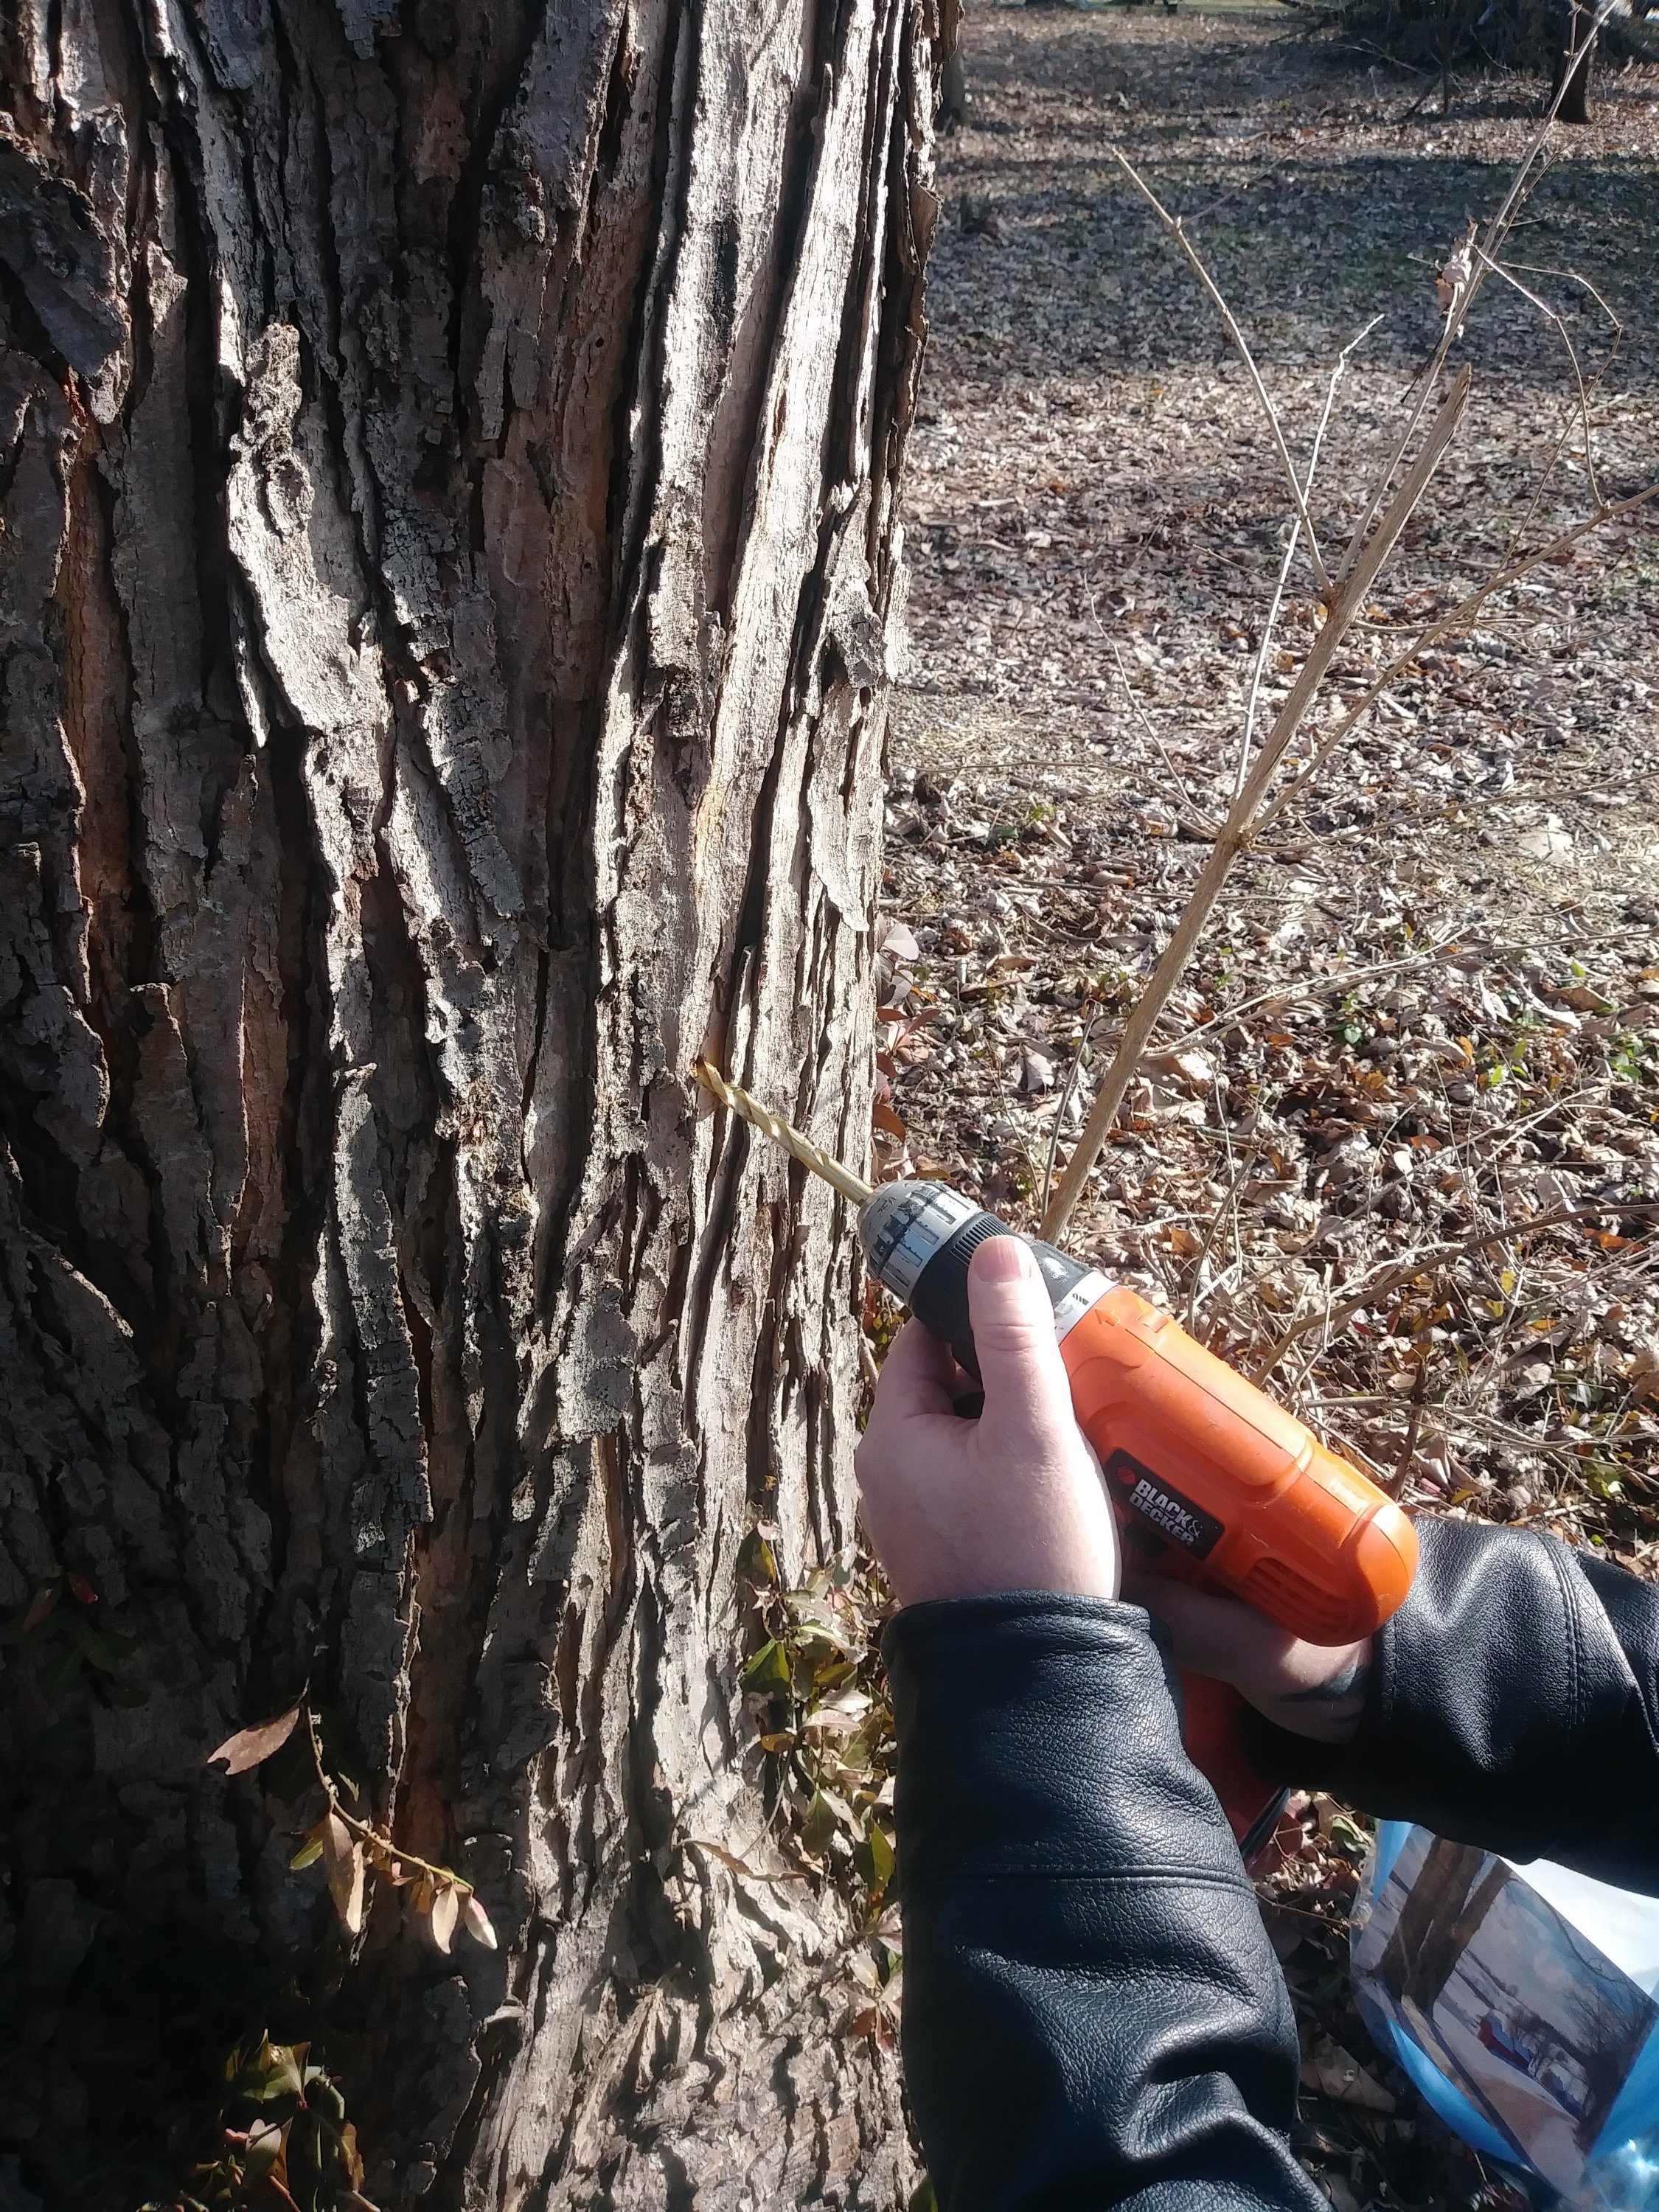
The key to getting a good flow is finding either a very large root or limb and putting the tap above or below, about 30″ from the ground. Drill the hole about 1″ deep. Putting a piece of tape around the bit can help you drill to the correct depth.
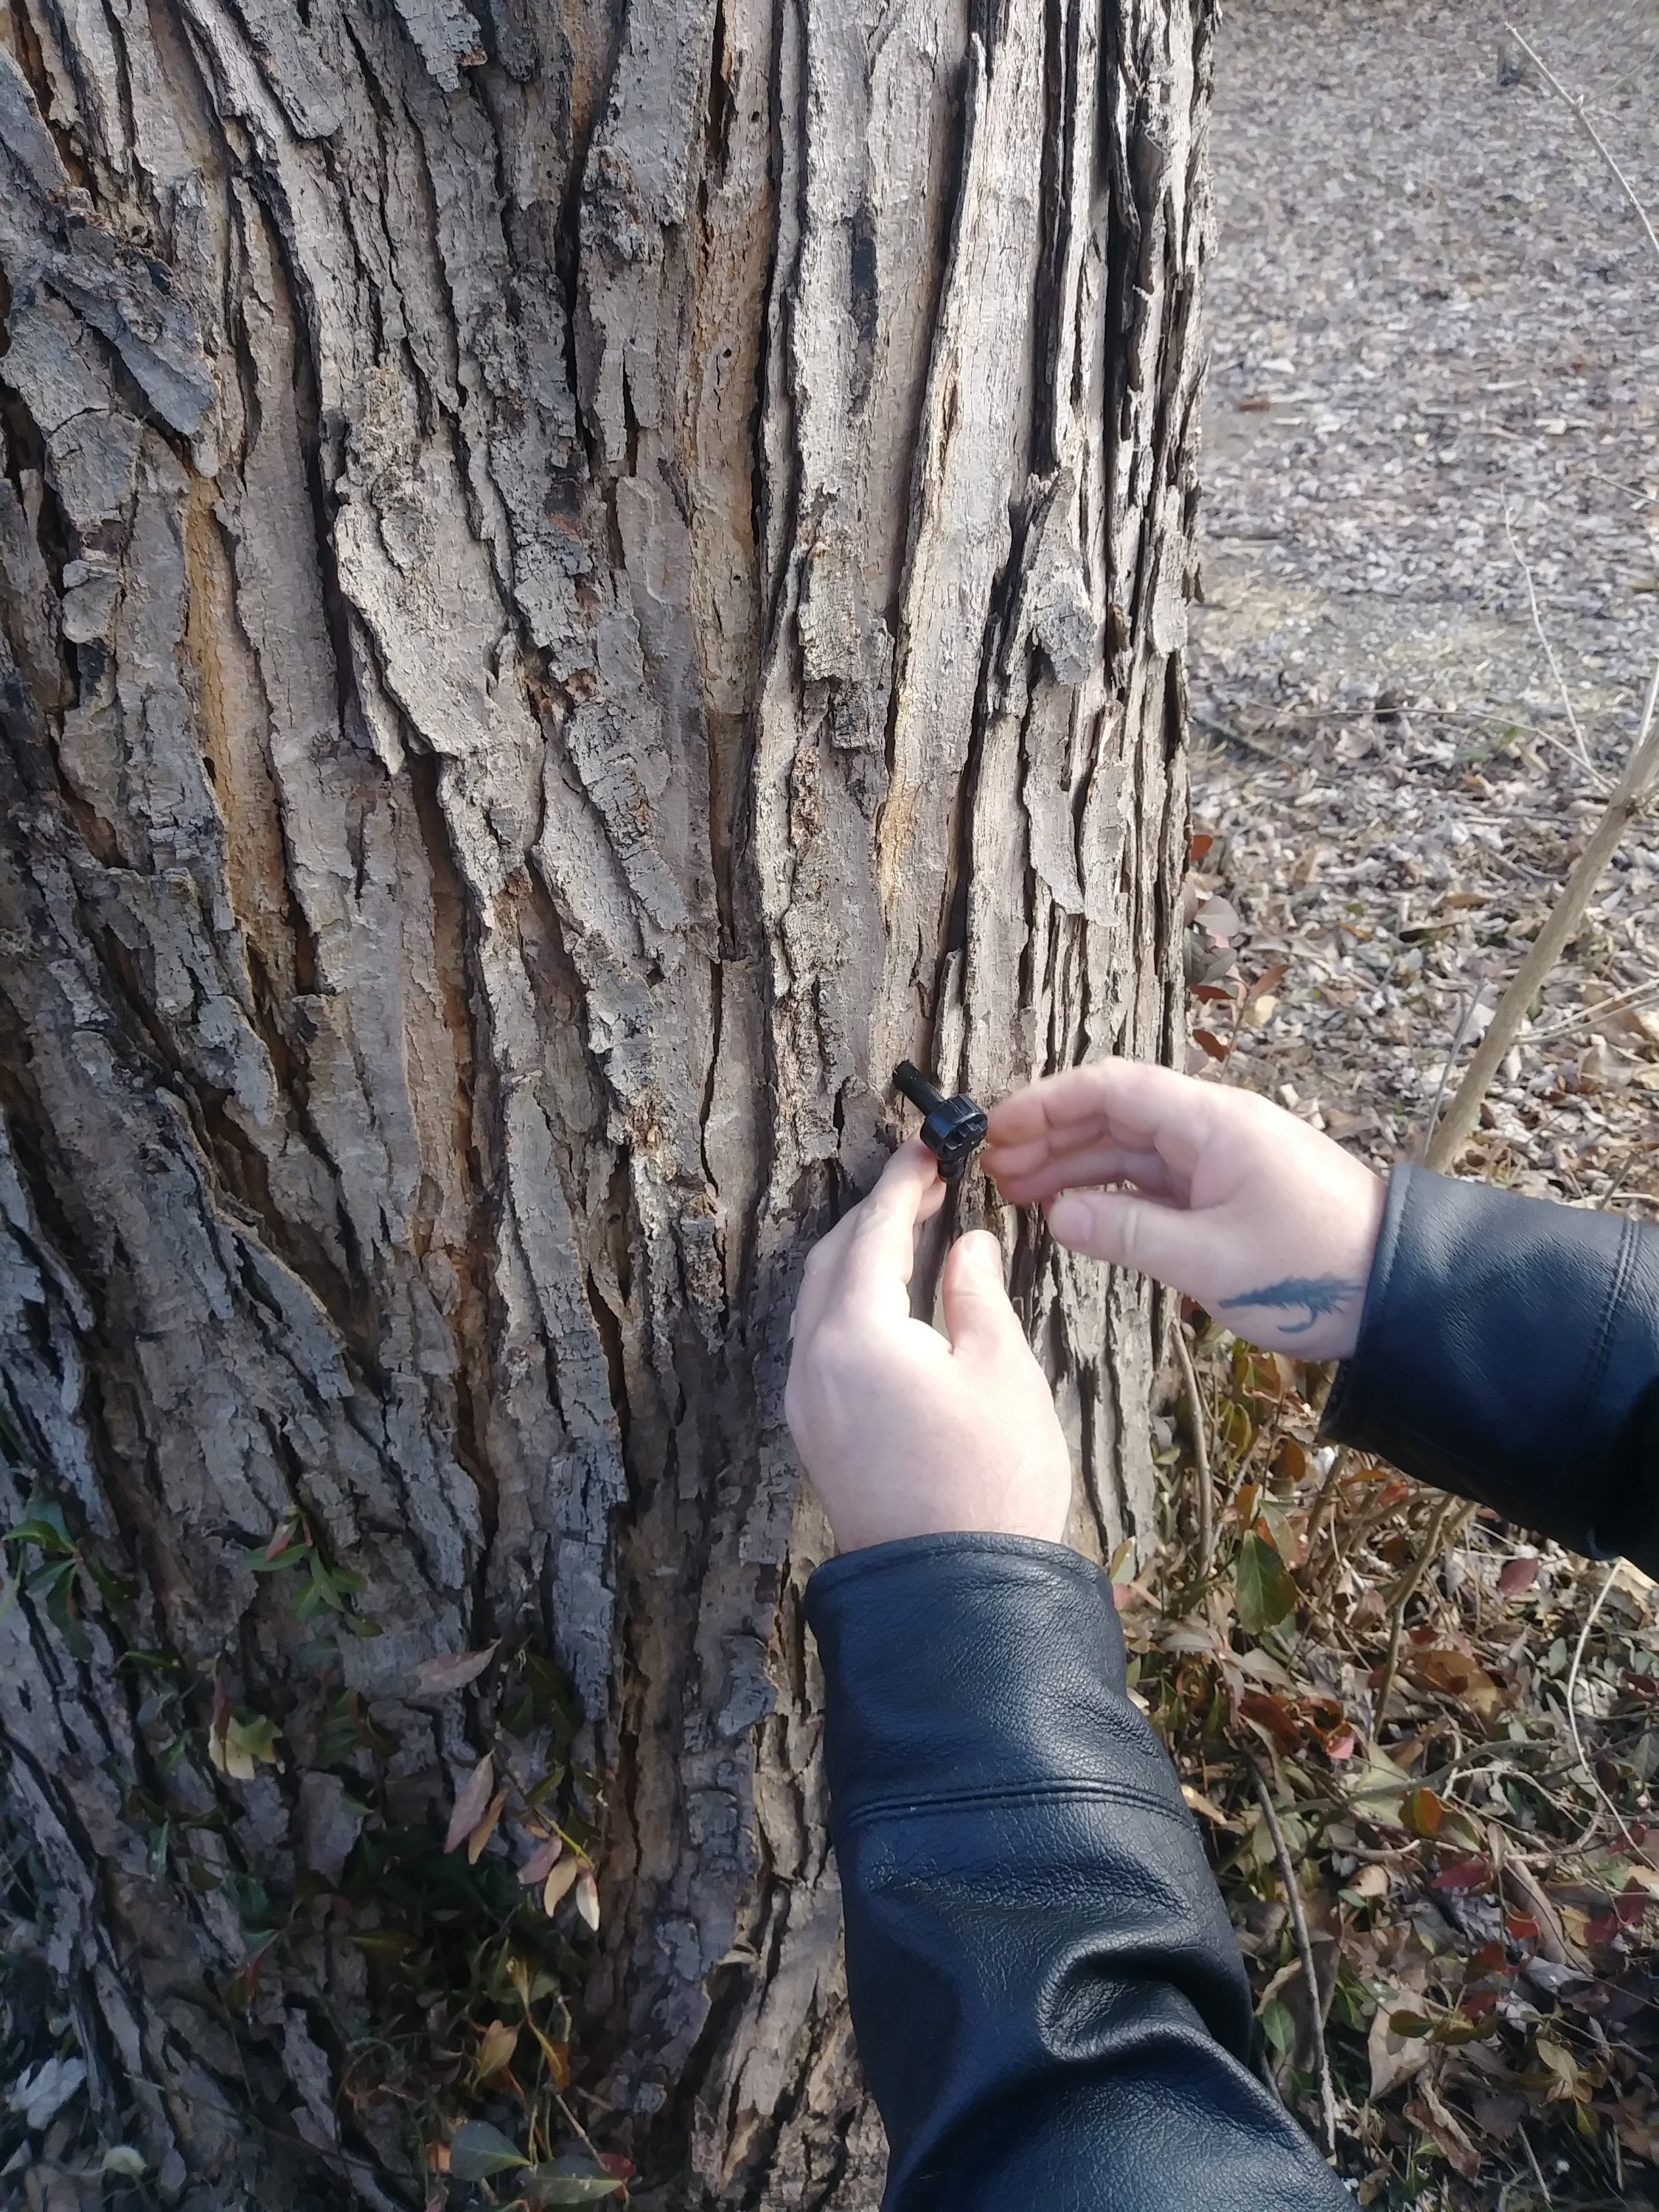
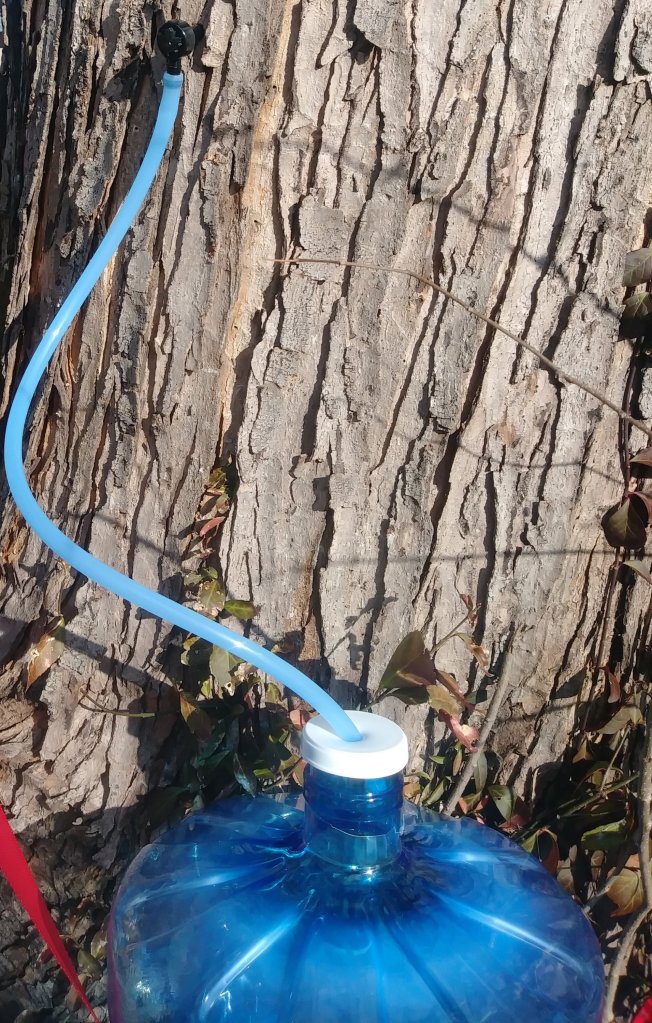
After you drill the hole, set the spile into the hole and gently tap it into the tree to seat it. Once you have the spile securely set, you attach the hose to it and insert it into the catch bottle. You CAN use a bucket, but we find that having a closed system keeps debris and insects out of the sap.
After a few high winds knocking the bottle over, we decided that perhaps we might use a ratchet strap to attach the bottle to the tree. We do NOT want to damage the tree in any way, and not just because it is an enormous mature tree. These trees also happen to have an excellent symbiotic relationship with morchella mycelium. For you non-mycophiles, that means that it has a relationship with morel mushrooms and that spot produces a few hundred morel mushrooms every year. So, gentle with the trees.
We inserted the taps at the end of the first week of January. To start pumping sap, the trees need temperatures below freezing at might and above 40°F during the day. Then, being the 15th month of 2020 or the year that shall remain nameless, we had that insane snowpocalypse where it got down to several degrees below zero and everything came to a screeching halt. We just sat it out, and left everything in situ because we were frankly afraid of damaging things by touching it. We went to check on them a few times, and when it got so cold that the sap froze in the bottle we decided this year would probably be a total loss.
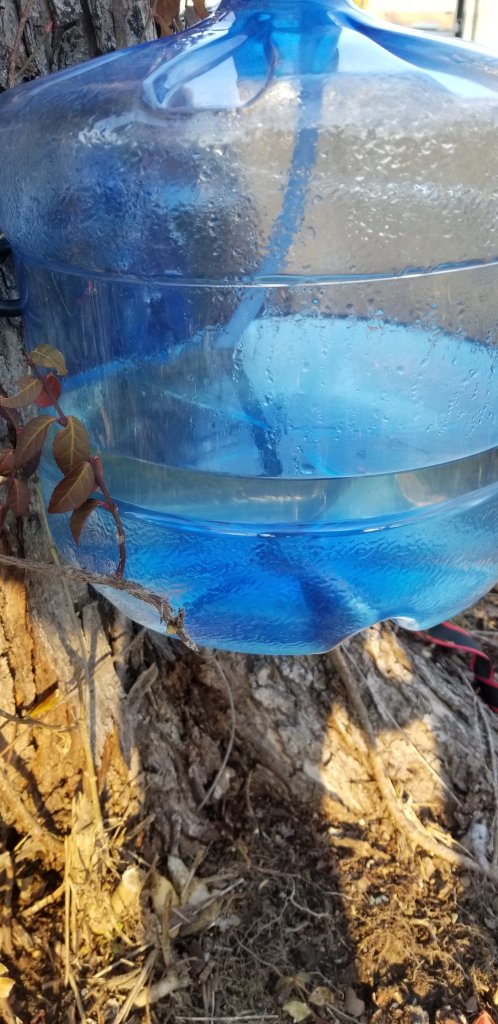
We went out about a week after the arctic decided to go back home and woohoo!! The 3 gallon jugs all had about a gallon each in them. Once we combined them all into a large clean, empty carboy, we decided to process it in small batches of 4 gallons or less at a time. Normally we would be all done by the end of February, but thanks to the Alberta Clipper from hell, everything is 2-3 weeks behind schedule.

We think we will probably get one more batch out of the year, but for now we combined all the collection bottles into an single carboy. It came to about four gallons. It was still very clear without a trace of cloudiness, so that is the main reason we think we can get another batch out of the year, maybe two.
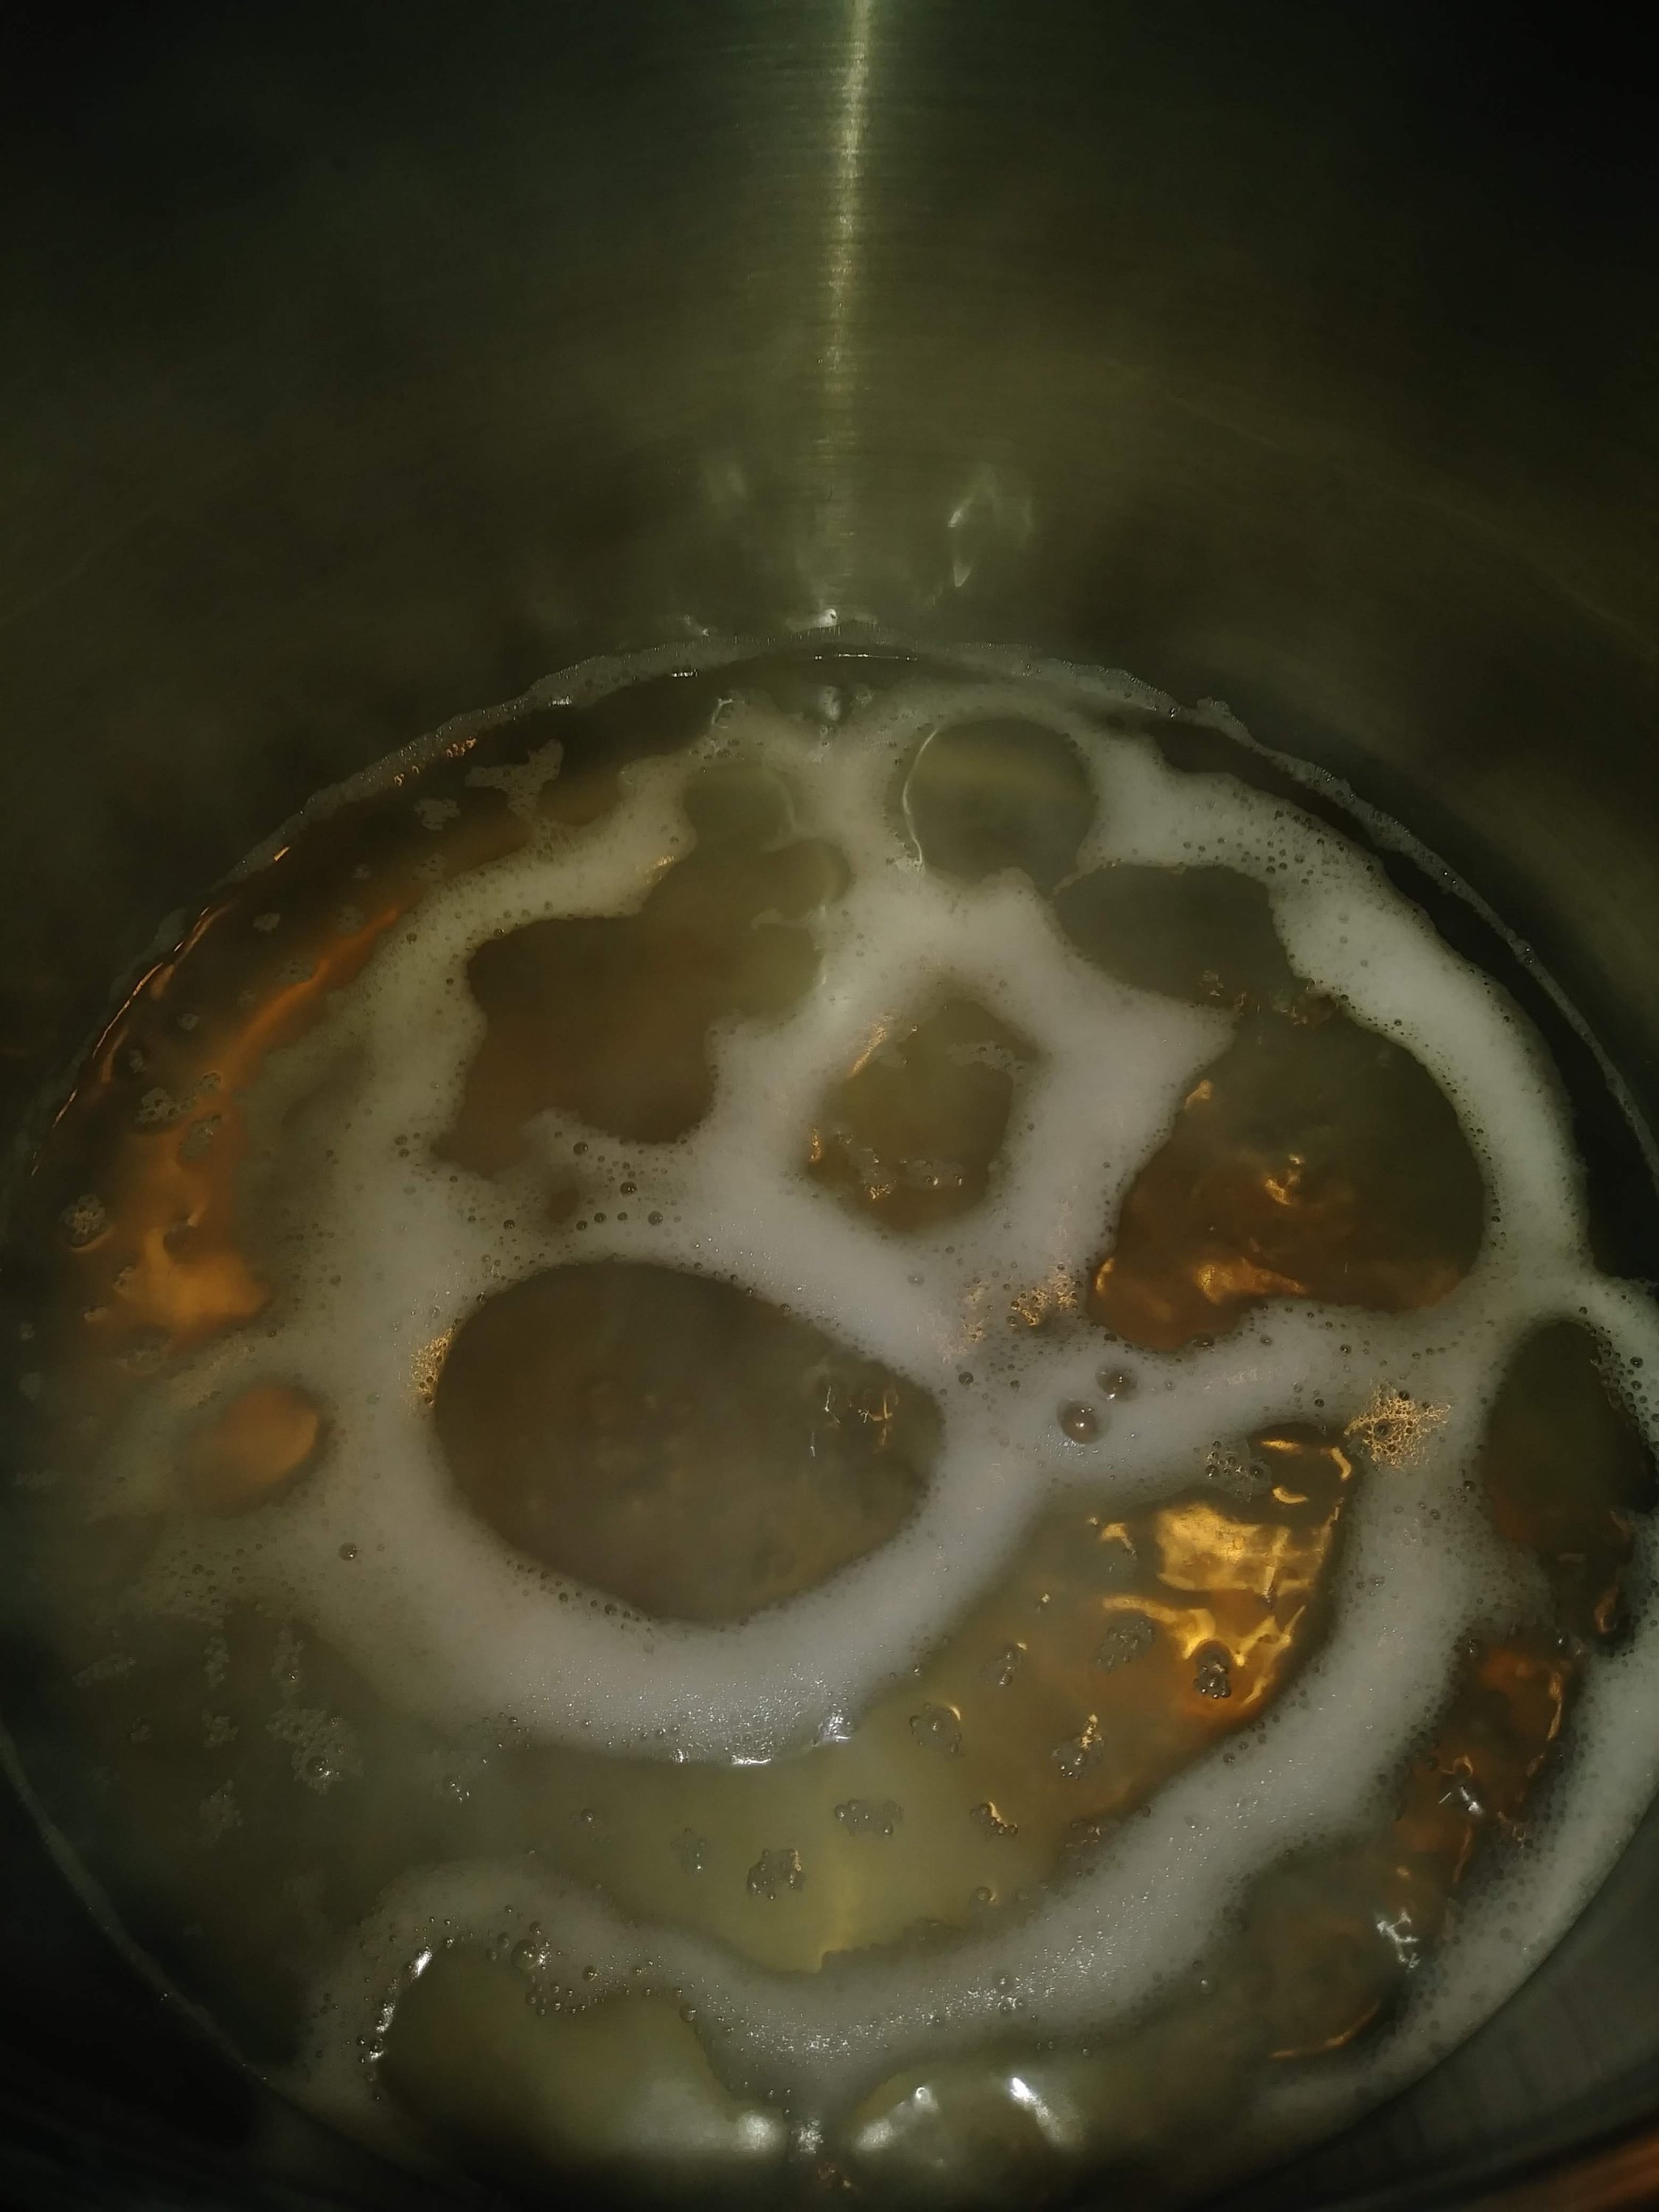
We put it into a five gallon stainless brew pot we also use to make beer and wine in. Normally we would do this outside on a portable burner, but we decided to try it on the stove to see how different the process is. It was actually considerably faster both in real time, and perceived time. Going in to check on it occasionally instead of having to stand over it made it seem faster.
Additionally, not having the wind blow the flames, and the ambient temperature being warmer than outside temperatures probably played a factor. I CANNOT stress this enough; have the vent on as high as it will go unless you want everything in the house to be sticky. I actually had to stop part way through to clean the hood, and vent screen because it was collecting syrup droplets.

Once you put it on to boil, just let it go and check on it every half hour or so. It will reduce down a ridiculous degree. Two hours later four gallons was two. Two hours later, two gallons was about a quart. The longer it boils, the faster it reduces. Once it gets to less than a gallon. Switch to a smaller pan.
Once if cooked down to about a gallon, I put it into a smaller stainless pot and put a thermometer on it. The goal is (for my altitude) 122°F or 66% sugar. If you have a hydrometer and a test beaker, great (I have them, but not everyone does, so I’m showing the temperature method) but you can also use temperature to determine when it is done.
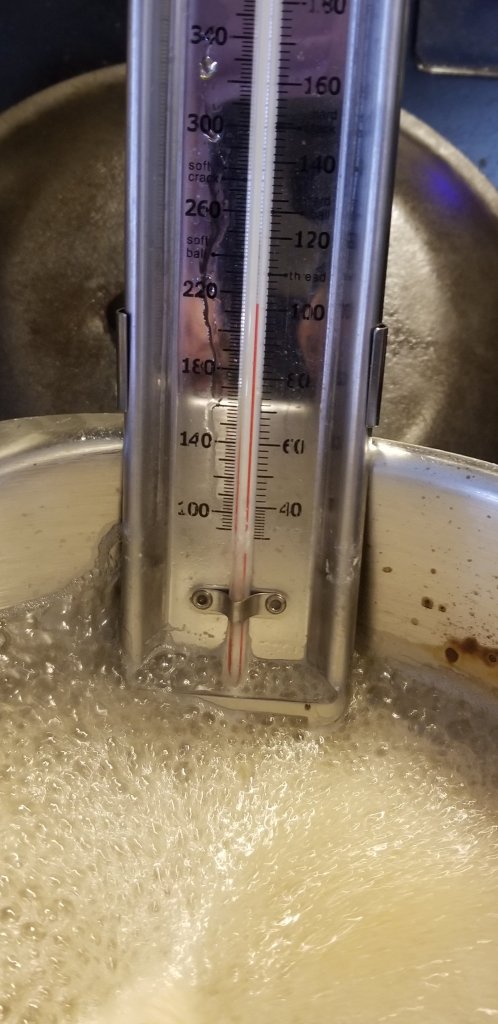
You can use a candy thermometer, or even one for frying. I have one I can just clip to the side of the pan and check on it as needed. Once it hits around 118° F you have to watch it very closely. At this point it is like an avocado. Not ready. Not ready. Not ready. Too late!! It will turn to sugar, or even burn if you aren’t careful.
I got distracted for a few minutes, and when I came back it was 124° F and had started to turn to sugar. The finished product is 70% sugar, and has sugar sand in it making it cloudy. I like the caramel like flavor that gives it, but not everyone is a fan of gritty maple syrup.

Since I wasn’t using sugar maple sap, it took me quite a bit more sap than a sugar maple would need to produce the same quantity of syrup. Four-ish gallons of sap cooked down to ten fluid ounces of finished syrup. Certainly not enough to supply us for a whole year, so we are hoping to get at least one more, if not two more batches out of it. We will continue to draw until the sap gets cloudy, at which point we will pull the taps, treat the holes, mark them so we know where NOT to tap the tree next year and call it good. Hopefully that will be around the time the morels start, and give us something else socially distant to do.
If you have maple, box elder, walnut, or birch trees (though that’s like a 15:1 ratio of sap to syrup, so be warned) you don’t have to have fancy boiling pans, wood burning whatevers, or 150 gallons of sap. You can make perfectly fine small batches with a few gallons, a pot and a stove. The only ESSENTIAL equipment are taps, catch containers, and something stainless to boil in. Nice additional equipment to have is thermometers, a hydrometer, and testing beakers. None of those things are particularly expensive, but if all you plan on making is a pint of syrup a year, why bother?
I hope you try making your own syrup next spring. You can do it! You have the rest of the year to plan, find your trees, and get ready. When you find a good tree, be sure to check around it when your region’s morel season starts! Maples and morels are good friends!
Happy syrup making!

