This year has been a rollercoaster, hasn’t it? The weather (cold, wet, stupid hot, humid, no rain, RAIN!! in the same week?!) has been all over the place. COVID continues to ravage the land. The early pandemic shortages have largely ended, though global supply chains are still experiencing difficulties. There are also more people than ever in the woods, and that’s great except for the complete jerks that like to destroy everything they see for whatever reason. Don’t be that person. Please. I found a whole bunch of very lovely boletes smashed to oblivion for no reason. Unless you plan on eating it, or doing science with it, leave it be!
Writing was a great escape for me and then one day I realized that it was an absolute burden, I was overwhelmed with everything, and writing had become a chore. So I stopped doing it. I’ve still been super busy foraging and experimenting with various wild edibles, I just took a break from writing about it for a while. I’ve had several people ask me (actually nag me, tbh) and I kept getting rando texts of plants/flowers/mushrooms with requests for recipes, so I’m writing again. For now. My serotonin is MIA.
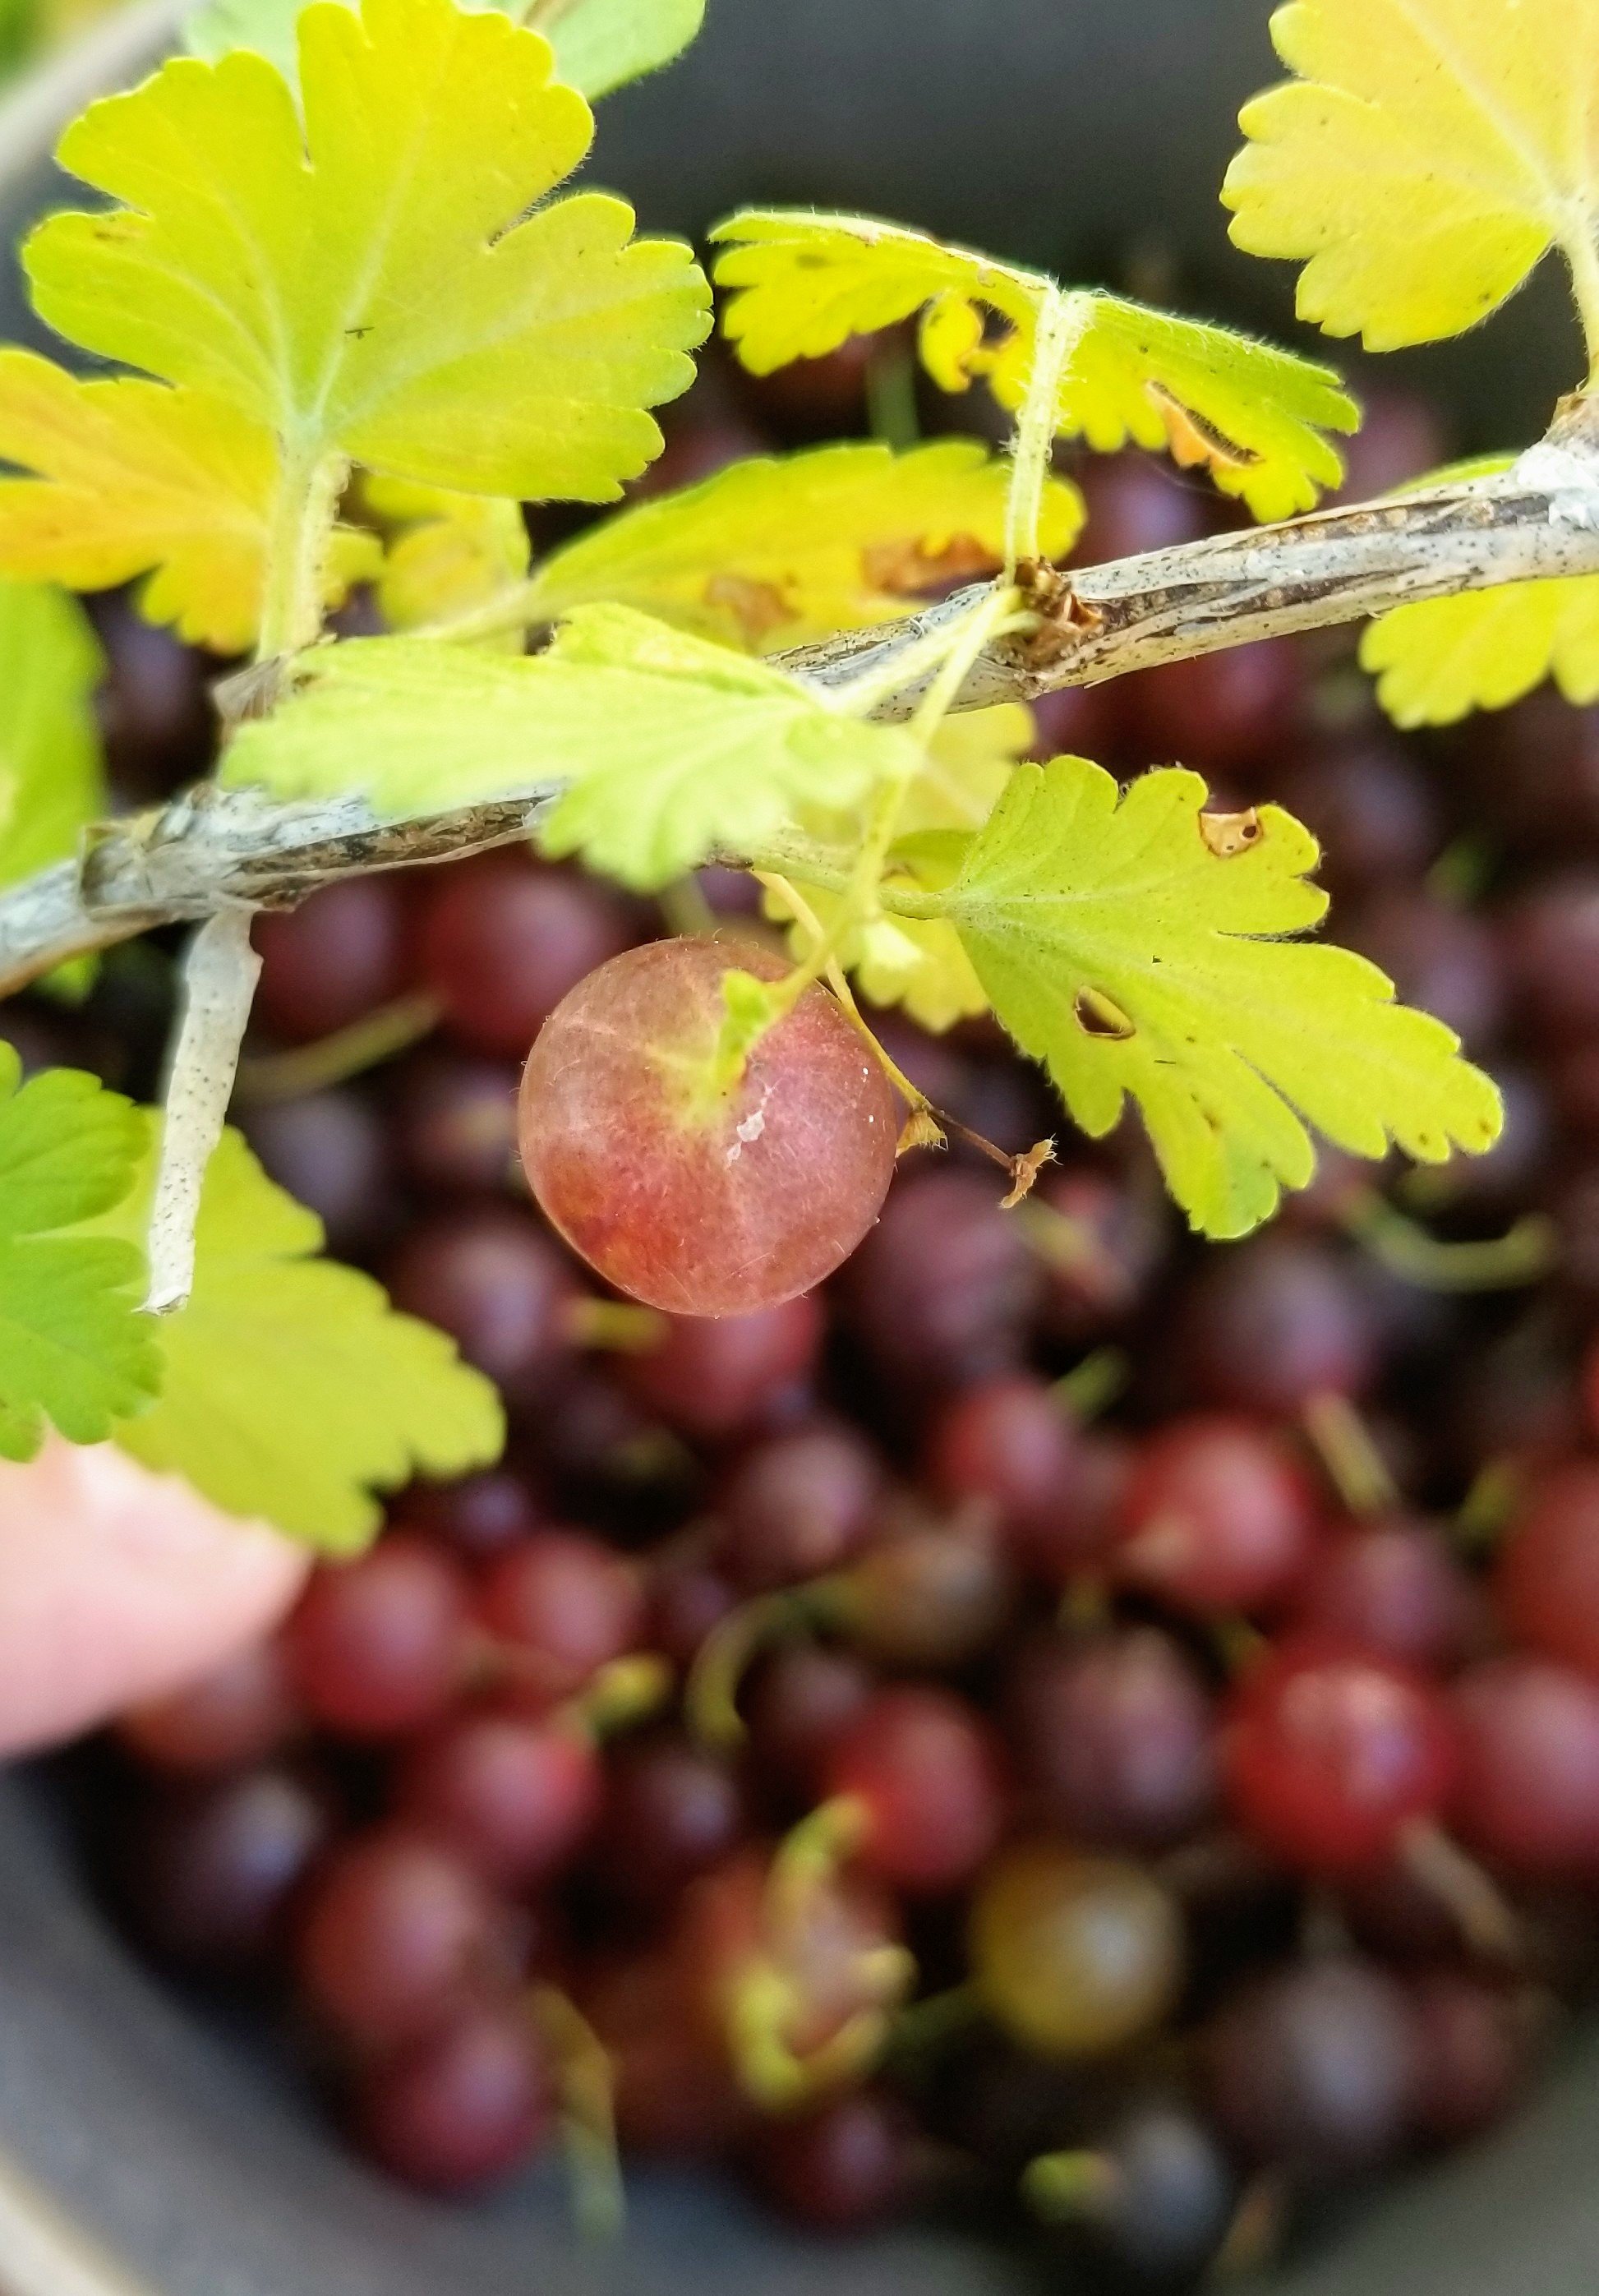
I had a pretty good morel season, then made some nocino, St. Germain, had a few excellent fishing trips, did some mushroom hunting and tried to stay productive. Fake it until you make it. Then the gooseberries started ripening up and I found two plants that were super loaded down. That rarely ever happens to me. I usually find one, or two berries here or there, but I actually got a few pints off these two bushes. I’ve only ever had enough gooseberries at a time to snack on, so I was super stoked to make some jam.
Gooseberries are packed with vitamins and minerals, loaded with vitamin C and have a slightly sweet flavor somewhat reminiscent of grapes. The European varieties are much sweeter than the native, wild gooseberries, but if you choose to buy gooseberries and get the European types this should work fine.


Unfortunately, all the recipes I found called for large quantities of gooseberries that you aren’t really going to find as a casual forager. I AM a casual forager. I have a day job, a few side hustles, and other obligations, so I do not have a ton of time in the woods. An hour here or there, and that’s all I have. I didn’t have time to look for more gooseberries to get the 11 cups the one recipe asked for, or the 8 cups another called for. I compiled three different recipes, mathed out the ingredients for the 4 cups I had, and in the end, those ratios were VERY similar to the recipe I use to make sumac jelly, so I modified that recipe for gooseberries.
It turned out so amazing!! To test the recipe, I bought some European currents (currents and gooseberries are super closely related) later, and tried the same recipe with those, and it worked really well. This seemed to be a good basic small batch jam recipe, so as an experiment, I tried the same recipe with some wild blackberries mixed with some late garden strawberries and it worked like a charm. Then I tried it with peaches and it also worked. I’m definitely going to use this recipe from now on to make small batches, and I put them in 4 ounce jars instead of traditional 8 ounce jelly jars. That way I can have variety but not have 6 open jars at a time in the fridge.
The great canning jar shortages seem to be over, but finding JUST lids is still a pain. I really need to switch to Weck jars. If you are having trouble finding lids, I suggest you check out Tattler lids and Harvest Guard for reusable lids. I use Tattlers for at home products, but I pretty regularly supply other people canned goods, so I need single use lids for that. People remember to give me back the jars, but not the lids. Short of writing my name on them in Sharpie, I guess I’ll have to keep scrounging for metal lids where I can. May the odds ever be in your favor.
The recipe I use is a pretty straight forward, low sugar recipe that yields 36 ounces with about a tablespoon left over for immediate gratification. The end product will have 8 calories, 5 carbs, and .67 g protein per teaspoon.
So how do I know how many calories, carbs, and protein are in each teaspoon? Witchcraft? Almost. ALGEBRA!!!!
The nutritional label on the sugar bag shows that one teaspoon has 15 calories and 4 carbs. This recipe makes 36 ounces. Google says there are 48 teaspoons in a cup, and 6 teaspoons to an ounce.
Gooseberries have 66 calories, 15 grams of carbs, and 1 gram protein per cup.
Sugar calculations:
(15*48)*1440 2160/(6*36)=6.67 Calories per teaspoon sugar.
(4*48)*2=348 348/(6*36)=1.6 Carbs per teaspoon
Gooseberry calculations:
(66*4 c=264 264/(6*36)= 1.2 calories per teaspoon.
(15*48)*=720 720/(6*36)=3.3 Carbs per teaspoon
1*4 c=4 g 4/(6*36)=.67 g protein per teaspoon.
Total carbs and calories:
- Calories: 12.2 per teaspoon
- Carbs: 5.3 per teaspoon
- Protein: .02 grams per teaspoon
RECIPE:
- 4 cups of prepared gooseberries.
- 2 cups of sugar
- 2 tablespoons Pamonas Universal Pectin
- 2 tablespoons calcium water (comes with Paminas Universal pectin)
- 1 tablespoon vinegar
- 0.5 tsp coconut oil (optional)

Method:
- Wash, and remove stems and blossom ends from berries (as best you can, it doesn’t have to be perfect).
- Add gooserberries to non-reactive saucepan (DO NOT USE ALUMINUM OR IRON!! Those are chemically reactive metals. Use stainless, enamel or powder coated pots) over medium heat.
- Crush berries with potato masher or spoon.
- Add enough liquid to cover and make a slurry. An immersion blender can be used to turn it into liquid.
- Simmer (and continue to use an immersion blender if you have it) until it forms a bubbly mash.
- Once it has simmered until the mash takes on a dark translucent quality, (see above photo) remove from heat and allow to cool enough to measure off the correct amount of prepared mash.
- Measure off 4 cups of the mash and place it in a clean sauce pan.
- Add prepared calcium water from the Pamonas Pectin package.
- Bring to a rolling boil.
- Add pectin to measured sugar and stir together well while waiting.
- Add coconut oil to saucepan as an anti-foaming agent and stir to reduce foam.
- Bring to a full rolling boil and stir in the sugar/pectin mixture, vigorously until all the pectin is dissolved (a whisk helps!).
- After adding sugar/pectin, return it to boil that can’t be stirred down.
- Remove from heat.
- Skim off any foam and ladle into prepared jars, with 1/4″ headspace.
- Wipe the rims down, and place lids/bands on the jars.
- Load jars into your canner and make sure there is at least 2 inches of water covering jars and lids.
- Add the vinegar to the canning water. That will help prevent mineral scale from building up on the outside of your jars during the canning process.
- Process time should be determined by your elevation and contents; see the USDA guidelines for that. Here they are.
- As a high acid food, at my elevation, it is 10 minutes at a full boil.
- After 10 minutes, turn the canner off and let jars sit in canner for 10 minutes.
- Remove the jars from from the canner and set on a dry towel, out of drafts, to cool.

Gooseberry jam.
If you are using single use metal lids, you should almost immediately begin hearing *PING* as the jars seal. I use the Tattler reusable lids now and I rather miss that. What are Tattlers? Find out here. They don’t sponsor me or anything, I just like the sustainable aspect. (I am hoping to switch over to Weck jars, but I’m still in the research phase).
Wait until they are fully cool, preferably overnight, THEN REMOVE THE BANDS. Label with date & contents and store in a single layer in a dark place. Do NOT leave the metal bands on the jars, I don’t care who told you to do it. Why? Keep reading.
Do NOT stack jars. That defeats the purpose of a two part lid. The whole reason lids come in two pieces is so that if there are bacteria or enzymes in the jar, the lid will pop off and you will know not to eat it. It is a built in safety feature. If you leave the bands on or stack them, the jar can be full of botulism and stay sealed or even RESEAL. I don’t care who has done what for how many years and been fine. All it takes is ONCE. Just be smart. Don’t do it. Remove the bands and get shelves that are closer together if you are worried about space. The health, safety and welfare of your family is far more valuable than some tradition of leaving bands on your jars.
Always remember that final results depend heavily on the effect the weather has on the fruit. Things can be sweeter, more tart, strong flavor, weak flavor, good set, loose set, all using the same recipe and technique everytime.

