Remember, never eat anything that you are not 100% sure of. I take no responsibility for what happens to you if you eat something you incorrectly identify.
If you have ever had Moroccan chicken, or any Asian or Middle Eastern food with a tart, lemony red powder on it, you’ve had sumac. Here in the United States people hear sumac, and they immediately go to “Poison Sumac” which isn’t even close to the same thing. Poison Sumac is Toxicodendron vernix, and closely related to Poison Ivy and Poison Oak. You can read about it here, which shows the distribution rate. It is mostly on the eastern portion of the United States, the Great Lakes, and the Eastern side of the Gulf of Mexico.
The Sumac I am referencing is the Rhus family. It is distributed throughout the United States, and there are several species of it. In my region, there are two major species, Rhus glabra (commonly called Smooth Sumac) and Rhus typhina (commonly called Staghorn Sumac). To make Sumac spice, the typhina species usually works best, but it isn’t as common here as the glabra species. I have previously written about them here and here.
You can certainly BUY the sumac as a prepackaged spice if that is what you want to do, here is one example of a seller. However, it grows wild here and I’m surrounded by it. This summer weather has been so hot, humid and behind on rain that it is about the only wild edible that is available in my area, and I needed something to do. There are still plenty of fresh seed heads available the remainder of August, so if you are thinking about it, you might want to do it sooner than later.
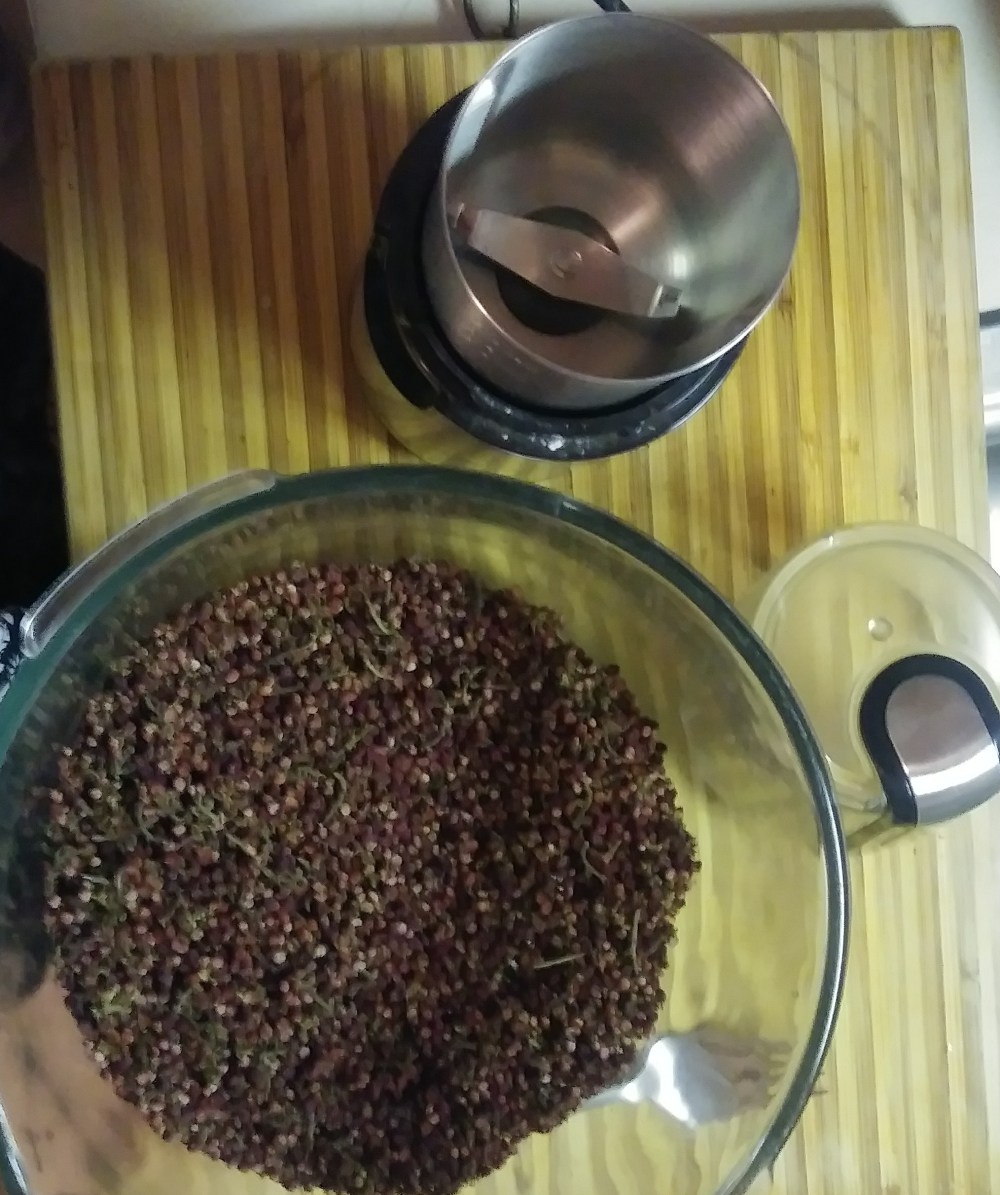
The key to harvesting it as a fresh spice is to get it when it is ripe, and bright red. I’ve processed it using two methods that are basically the same and got drastically different results. The typhina species (Staghorn) really would make the better of the two species for the spice, but the glabra (Smooth) is what is most abundant around here. I cut the seed heads when they were bright red, the fruits were fleshy and the stems were still green. I didn’t take photos of the processing method that time, but I used the exact same procedure as below. Sorry the photos are bad. I didn’t even realize that there was a smear on my lens until I was putting this together.
The biggest difference was that in the first batch, I worked with the sumac super fresh, wet, and oily. It got it all over my hands, and then I had to let the powder dry a few days. The second time, I decided to dry the seed heads first, and then process them. That is the process that I photographed and used as the examples below. Same process, I just dried one after and the other first, but the results are dramatically different. Both yielded usable results, but worlds of difference as far as flavor, color and texture.
Sumac dried before processing on left, sumac processed fresh and then dried on right.

This is tedious work, make no mistake. I sat on the sofa with a large cutting board in my lap, with a glass bowl and a fork. I used the fork to pop the berries off the stems and into the bowl. When I was working with fresh berries, no matter how hard you tried, you got it on your hands. It was a wet and oily, very tart substance. It doesn’t get on your hands as much when you work with stems that were dried first.

Once all the berries are off the stems, put them through a spice grinder. This will separate the coating from the seed. I suggest doing it in small batches.
Don’t over do it on the spice grinder, The seeds become brittle and are a little bitter. If you run it too long, you go from abrading the flavor particulates off the seed to abrading the seed hull off the germ.
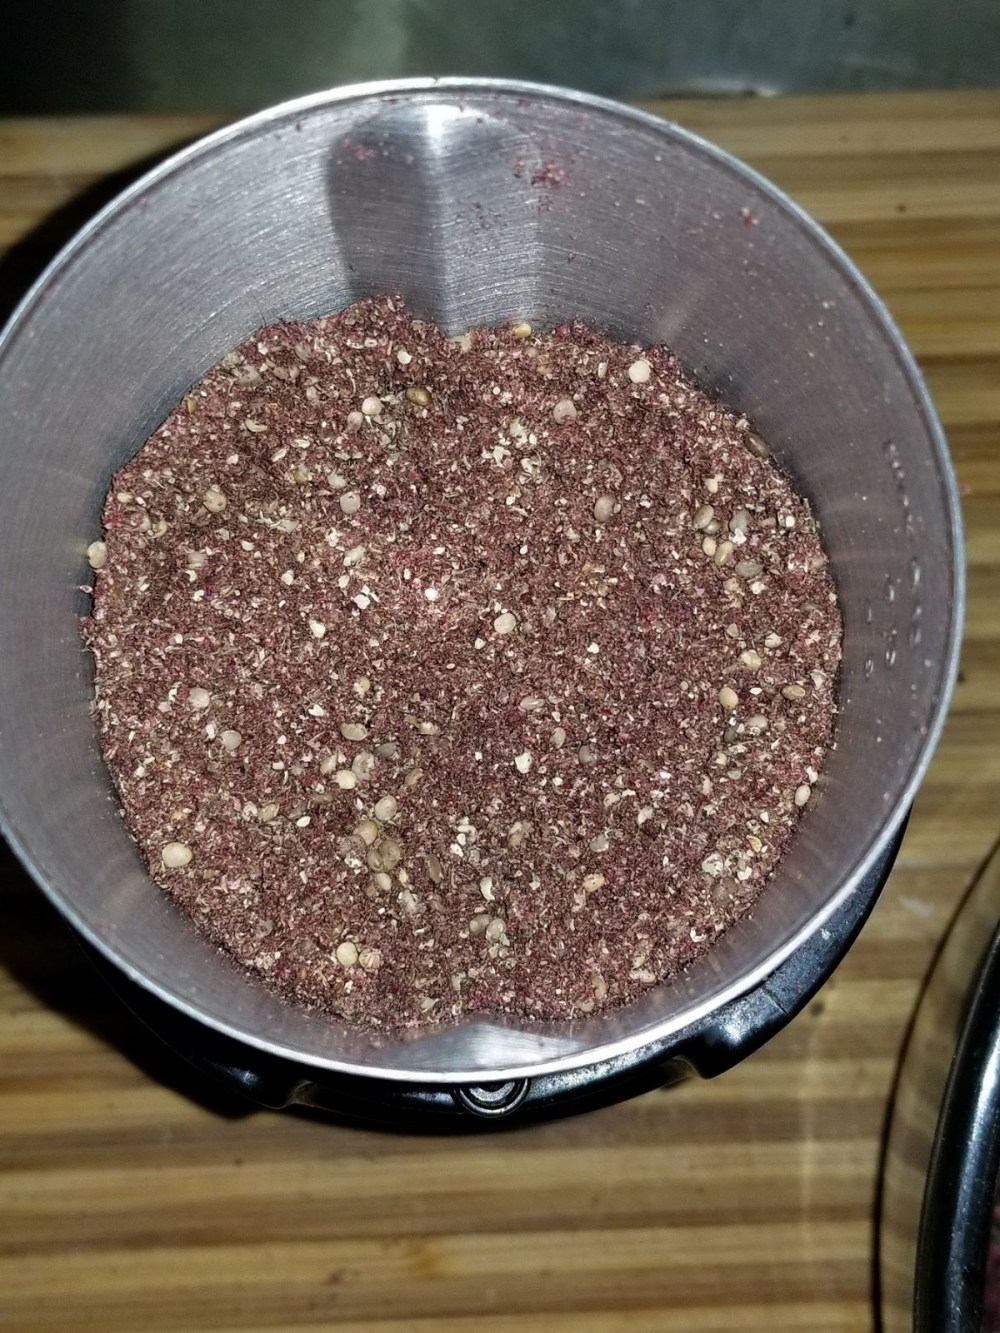
This was the first batch I did and you can see little flecks of seed hull in there. I tasted a few and they were very bitter, so go easy. Put the grind from the spice grinder into a flour sifter, and then sift over a clean, dry bowl. Do yourself a favor and make sure it has a pour spout.
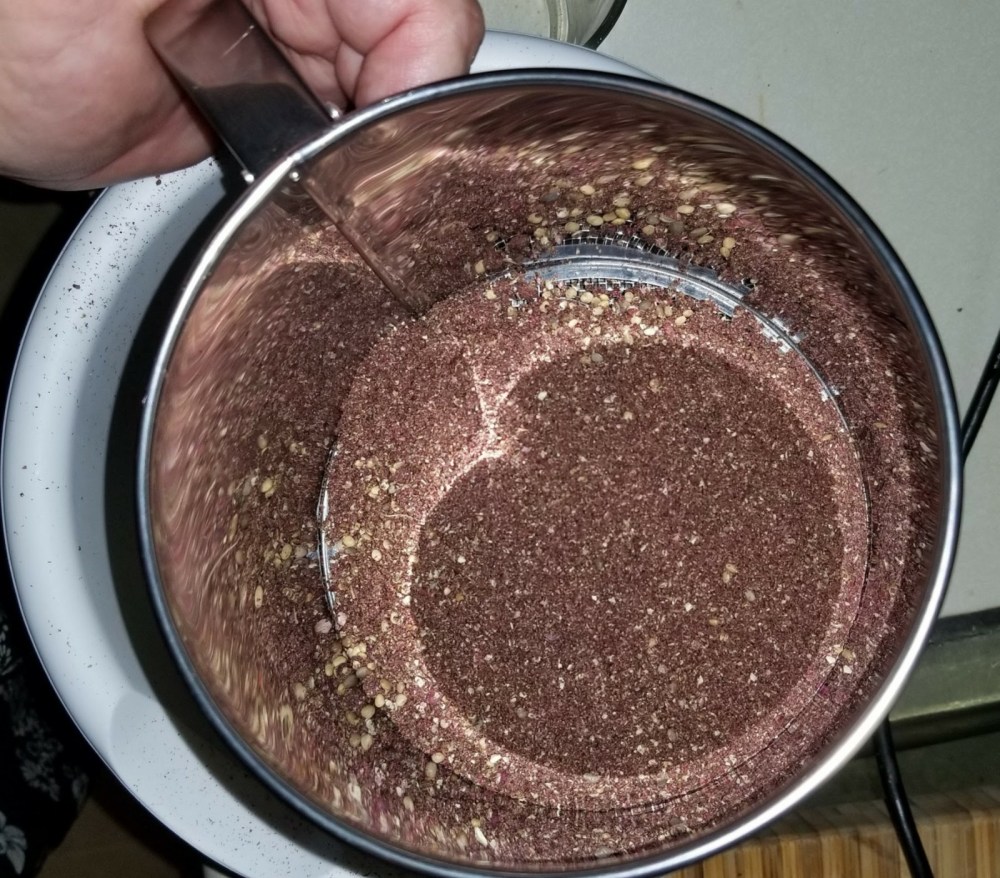
If you are working with the fresh sumac, you might want to just use a fine sieve and a spatula. I had problems with the powder getting stuck in the middle screen because it was sticky. I also had problems with the seeds from the dried sumac getting stuck in the middle screen, so if you want to go sieve and spatula either way, it is a viable option.

The seeds stay behind while the spice goes through the mesh. I like this photo because it looks like an action shot; the reflection on the interior of the sifter walls look like movement. The seeds almost look like really fat sesame seeds.
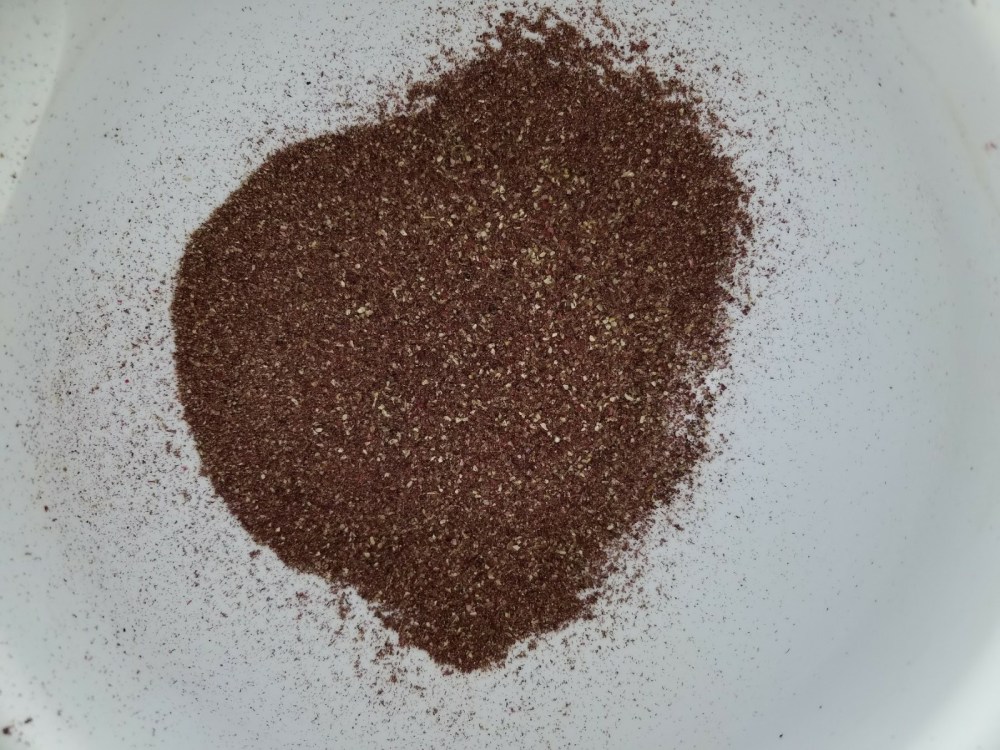
The net result is a fine powder. When I worked with fresh berries, I had to let the powder dry at a very low temp in the dehydrator a few days. It is a vibrant red, very tart and a bit on the sticky side still. The spice made from the dried fruit is darker, milder, and more reminiscent of a Chinese haw fruit rather than lemons.
Both are usable products, one is a little less in your face than the other. The color difference is very remarkable, as seen by the top photo.
To summarize, you can dry the fruit first and then make it spice, or you can work with it fresh, which honestly makes a superior spice even if it is messier. You can look up all sorts of recipes that use sumac spice, but you can also use it in tea. I find it to be very pleasant, and somewhat reminiscent of rooibos. It is such a prolific grower, I hope there is some near you. Let me know if you give it a try!


This is brilliant! I just tried to process with dried berries because they are so easy to take off the stem, but the spice turned out awful as you showed above! Now I have to try with fresh!
LikeLike
I’m glad you are trying to make your own! While not as good, the spice from dried berries it is still edible. I found myself using it in baked goods where it added some pop, but not as much as the spice from fresh berries does. I put it in some fruity quick breads and it was rather nice. It pares well with apples.
Where I live, the berries are just starting to ripen, so hopefully you can give it another try with fresh berries.
LikeLike